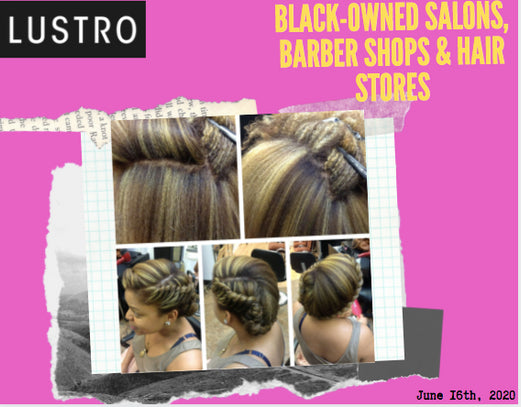
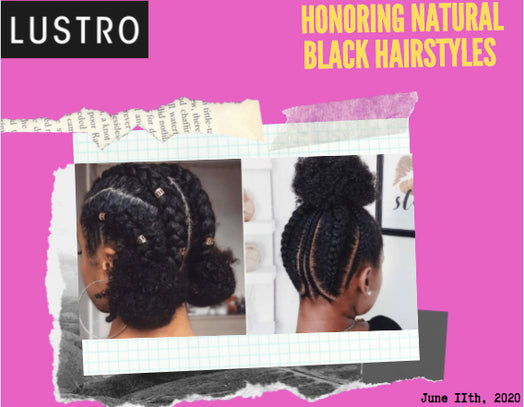
Happy Friday, Lustro Loves! Today, we’re coming to you with a new tutorial -- long time no see, huh? Well, we’re ready to give you a step-by-step tutorial on how to do your own Passion Twists at home! We know, you’re probably tired of being in the house, but if you can, try learning a new skill with us!
Difficulty Level:
Intermediate
Materials:

- Crochet Needle (See Right)
- Moisturizing Oil
- Crochet Passion Twists
- Comb
- Rubber Bands
- Optional: Edge Control
Step-By-Step Instructions:
- Start on freshly blow dried hair
- Use oil to moisturize your scalp, so that your hair doesn't get dry underneath your braids
- Part your hair in two sections: the ratio should be about 1:10

- The smaller section is reserved for the very front of your hair, or the “crown”
- The larger section is for the back, where you will be crocheting onto your braids
- Take your comb and part the back section of your hair vertically
- Begin braiding your hair down, and follow suit with the remaining section

- With your crochet needle, take the end you your braids and “weave” them through the next braid so that there are no loose ends, and all braids are “tucked”
- Oil the back section of your scalp that you just braided
- Now for the fun part! Take your crochet needle and a passion twist
- Insert the needle through the loop in the crochet twist, and close the latch
- With your crochet passion twist attached, insert the needle at the bottom of your first braid

- Once one side is at least an inch, and the other contains the majority of the twist, insert the longer end into the looped part, and pull until there is a knot attached to the braid
- Repeat with all passion twists; we recommend going vertically for an even spread out -- you can space these out anywhere from half an inch to an inch depending on how full you want your hair to look
- Now for the top section: This is going to make your hair look more natural, as if the twists are coming from your scalp
- Part this section in squares (or triangles if you wish); the parts shouldn’t be too big, but the more hair you left out, the more you will need to part

- Secure each part with a rubber band -- be sure to comb through each part so that there are no kinks (For extra slick parts, use edge control to get a firmer hold)
- Braid each part with no added hair (Just your natural hair)
- Repeat steps 11-13. Since you are going for a more natural look, you’re going to take your passion twist and unravel it a little bit, starting at the top
- Insert the braid (Of your natural hair) into the passion twist, then use the twist to wrap around your braid, covering its entirety. If needed, scrunch up the twist to blend it
*Optional: Use edge control to slick down your baby hairs, and voila! You’re all finished.
Check out this YouTube tutorial on passion twists if you need a visual guide! Thanks for hanging out with us today, cheers to the weekend!